Testing a relay on the bench is an essential skill for both beginners and experienced technicians. By using basic tools, you can quickly determine whether a relay is functioning correctly without complex equipment. This guide provides a step-by-step approach to testing relays efficiently and safely.
Understanding the Relay
Before starting any test, it is important to understand the relay’s components:
- Coil – The electromagnetic component that activates the relay.
- Contacts – The moving parts that open or close the circuit when the coil is energized.
- Pins/Terminals – Connection points for the coil and contacts.
Knowing these elements ensures accurate testing and helps prevent damage. Training on how to test a relay enhances troubleshooting skills.
Tools You Will Need
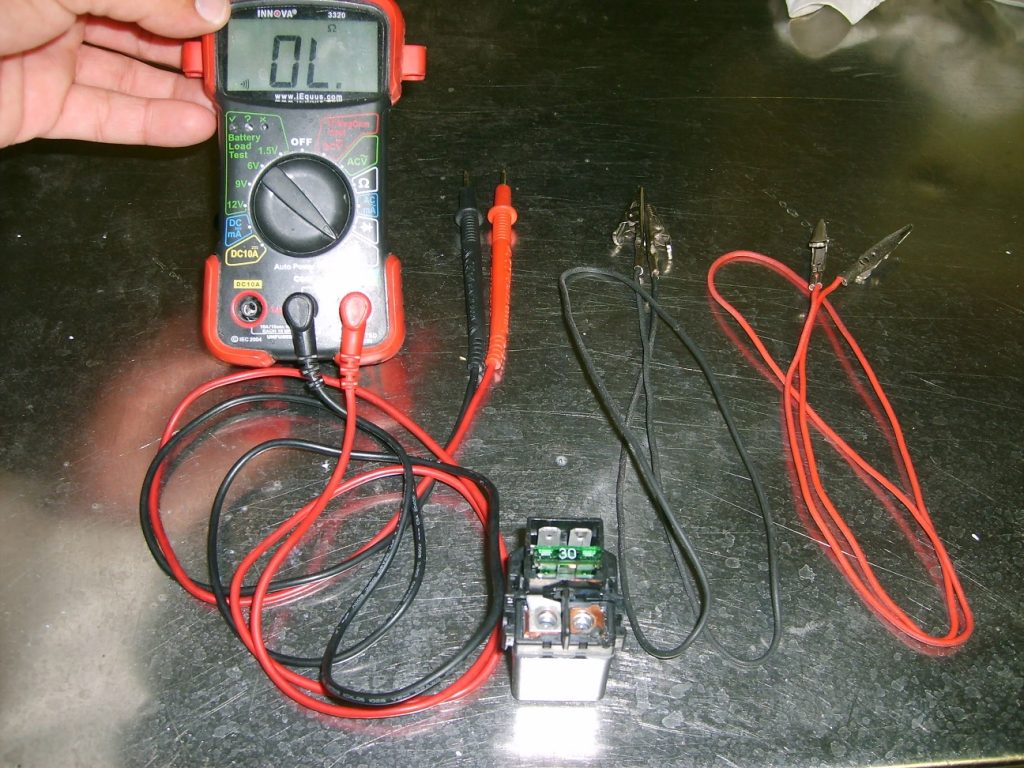
Testing a relay requires only a few simple tools, which are usually available in most workshops:
- Multimeter (for measuring voltage, resistance, and continuity)
- Power supply or battery (matching the relay coil voltage)
- Jumper wires or alligator clips
These tools allow for a complete bench test without the need for expensive instruments.
Step 1: Visual Inspection
Start with a careful visual inspection:
- Check for physical damage, such as cracks or burn marks.
- Ensure terminals are clean and free of corrosion.
- Confirm that the relay matches the voltage requirements for testing.
A clean and intact relay increases the accuracy of your tests and prolongs component life.
Step 2: Test the Coil Resistance
Measuring the coil resistance is an initial indicator of relay health:
- Set your multimeter to the resistance (ohms) mode.
- Connect the meter probes to the coil terminals.
- Compare the measured value with the expected range, usually specified in datasheets or manuals.
A reading within the normal range indicates that the coil is intact, while a very high or infinite reading may indicate a broken coil.
Step 3: Check Contact Continuity
The contacts must reliably open and close. Follow these steps:
- Set the multimeter to continuity mode.
- Test the Normally Closed (NC) contacts – they should show continuity when the relay is not energized.
- Test the Normally Open (NO) contacts – they should show no continuity when the relay is not energized.
This simple test confirms that the mechanical contacts are functioning correctly.
Step 4: Energize the Relay
Finally, apply voltage to the coil:
- Connect the power supply or battery to the coil terminals.
- Listen for a click sound, which indicates the relay is actuating.
- Measure continuity again on the NO and NC contacts – the NO should now close, and the NC should open.
Successful actuation verifies that the relay operates under normal working conditions.
Tips for Accurate Testing
- Always use a stable power source matching the relay’s voltage rating.
- Avoid prolonged coil energizing to prevent overheating.
- Repeat tests a few times to ensure consistent results.
Conclusion
Testing a relay on the bench using simple tools is straightforward and highly effective. By following visual inspection, coil resistance measurement, contact continuity checks, and coil energizing, you can quickly assess relay performance. Regular bench testing improves reliability, prevents equipment failures, and ensures smooth operation in electrical circuits.